

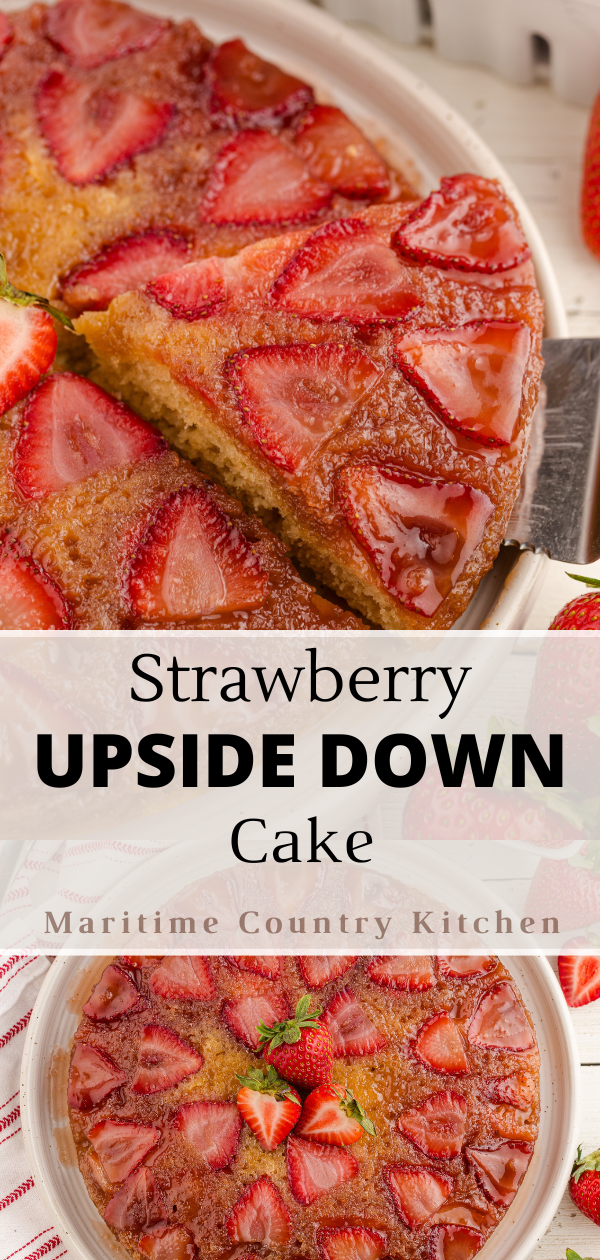
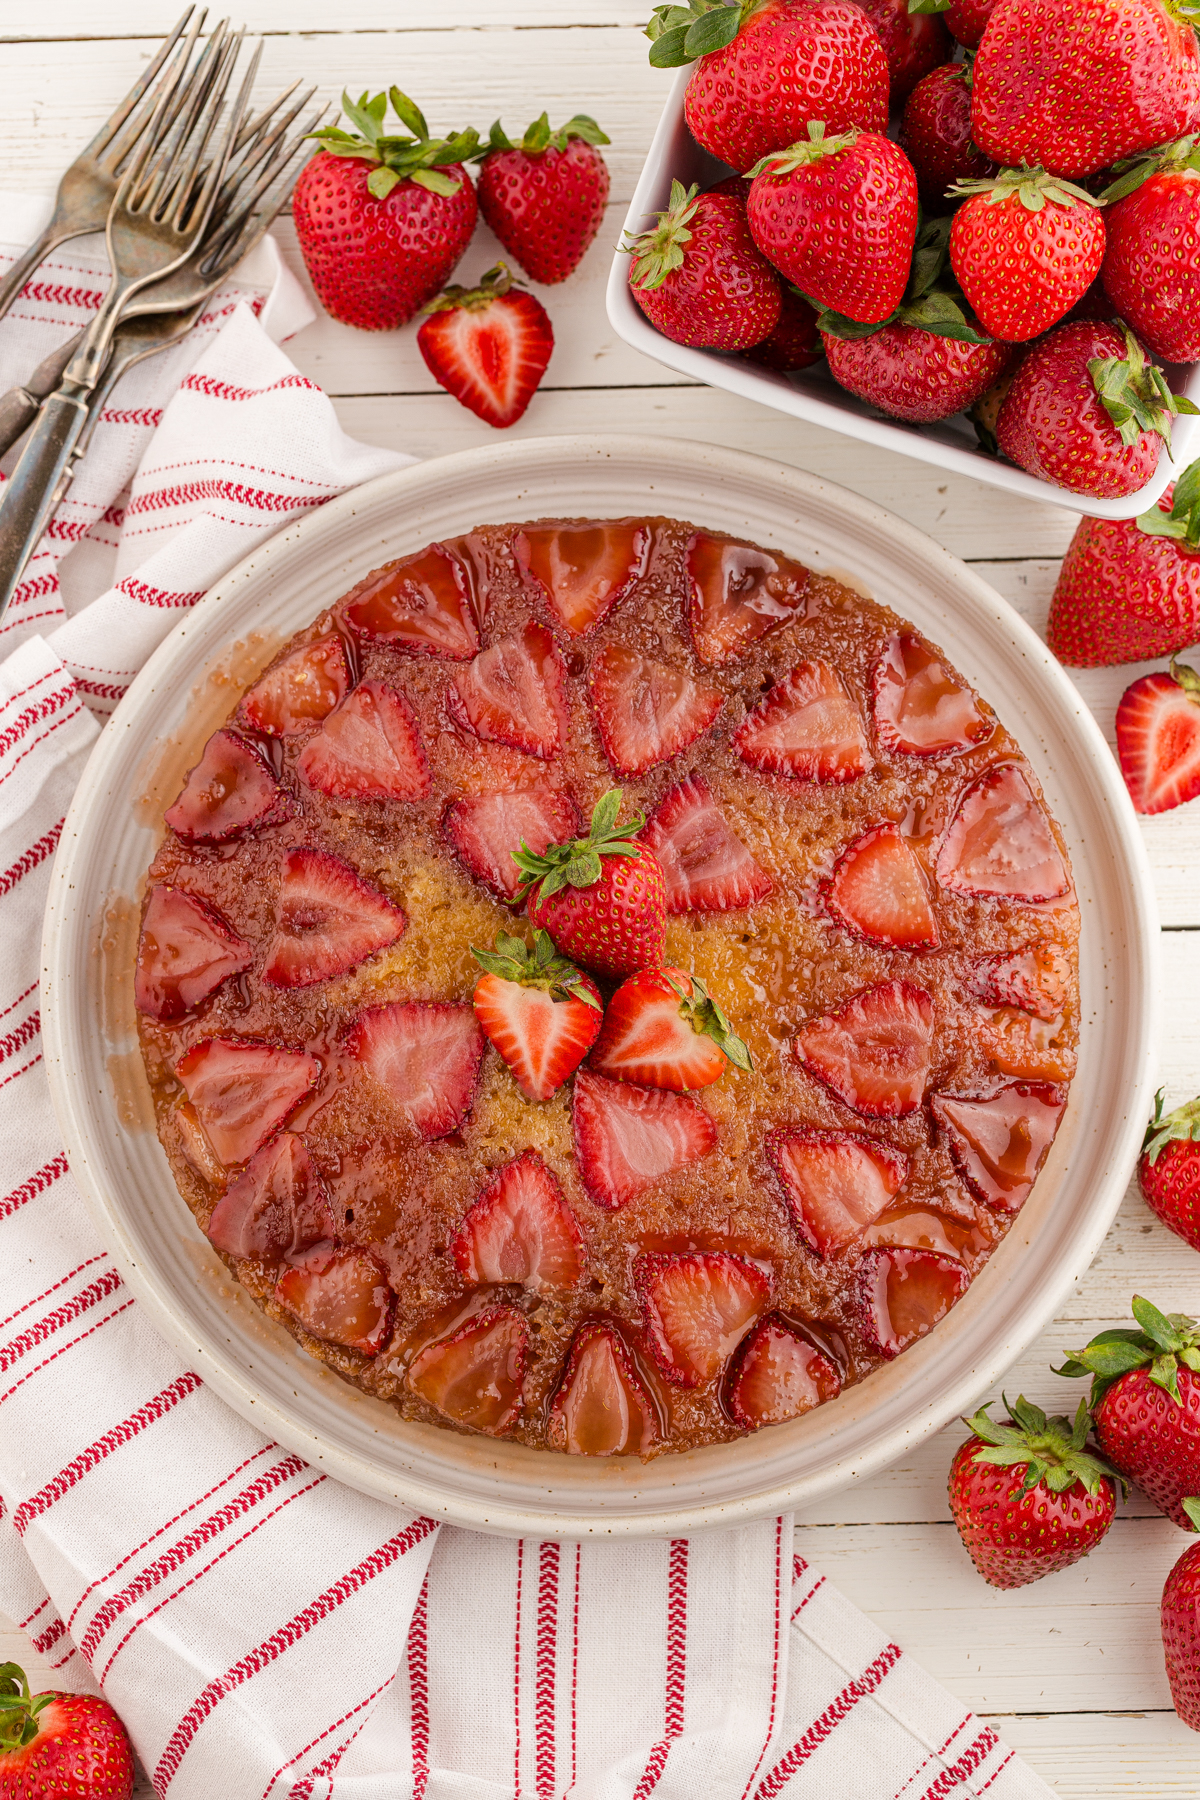
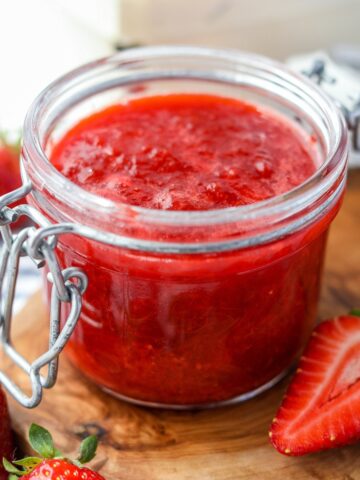
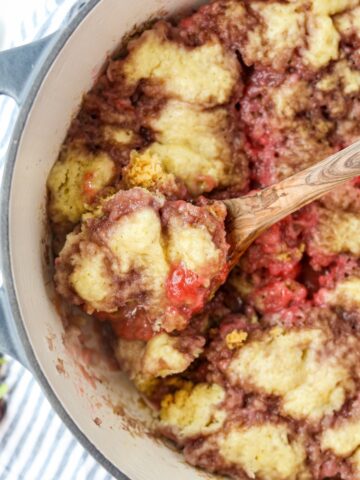
This strawberry upside down cake is a show-stopping dessert that turns everyday ingredients into something special!
Featuring fresh strawberries and a fluffy vanilla cake layer, this Springtime dessert is sure to become a family favorite.
Why You'll Love It:
- Sweet strawberries. Need I say more? If you jump for joy at the thought of strawberry season, THIS is the dessert for you.
- Balanced sweetness. The jammy layer of fresh strawberries, followed by tender vanilla cake, is pure perfection.
- Easy to make. Everything is assembled quickly, and no special equipment is required (looking at you, springform pan – you're not needed here).
You Will Need:
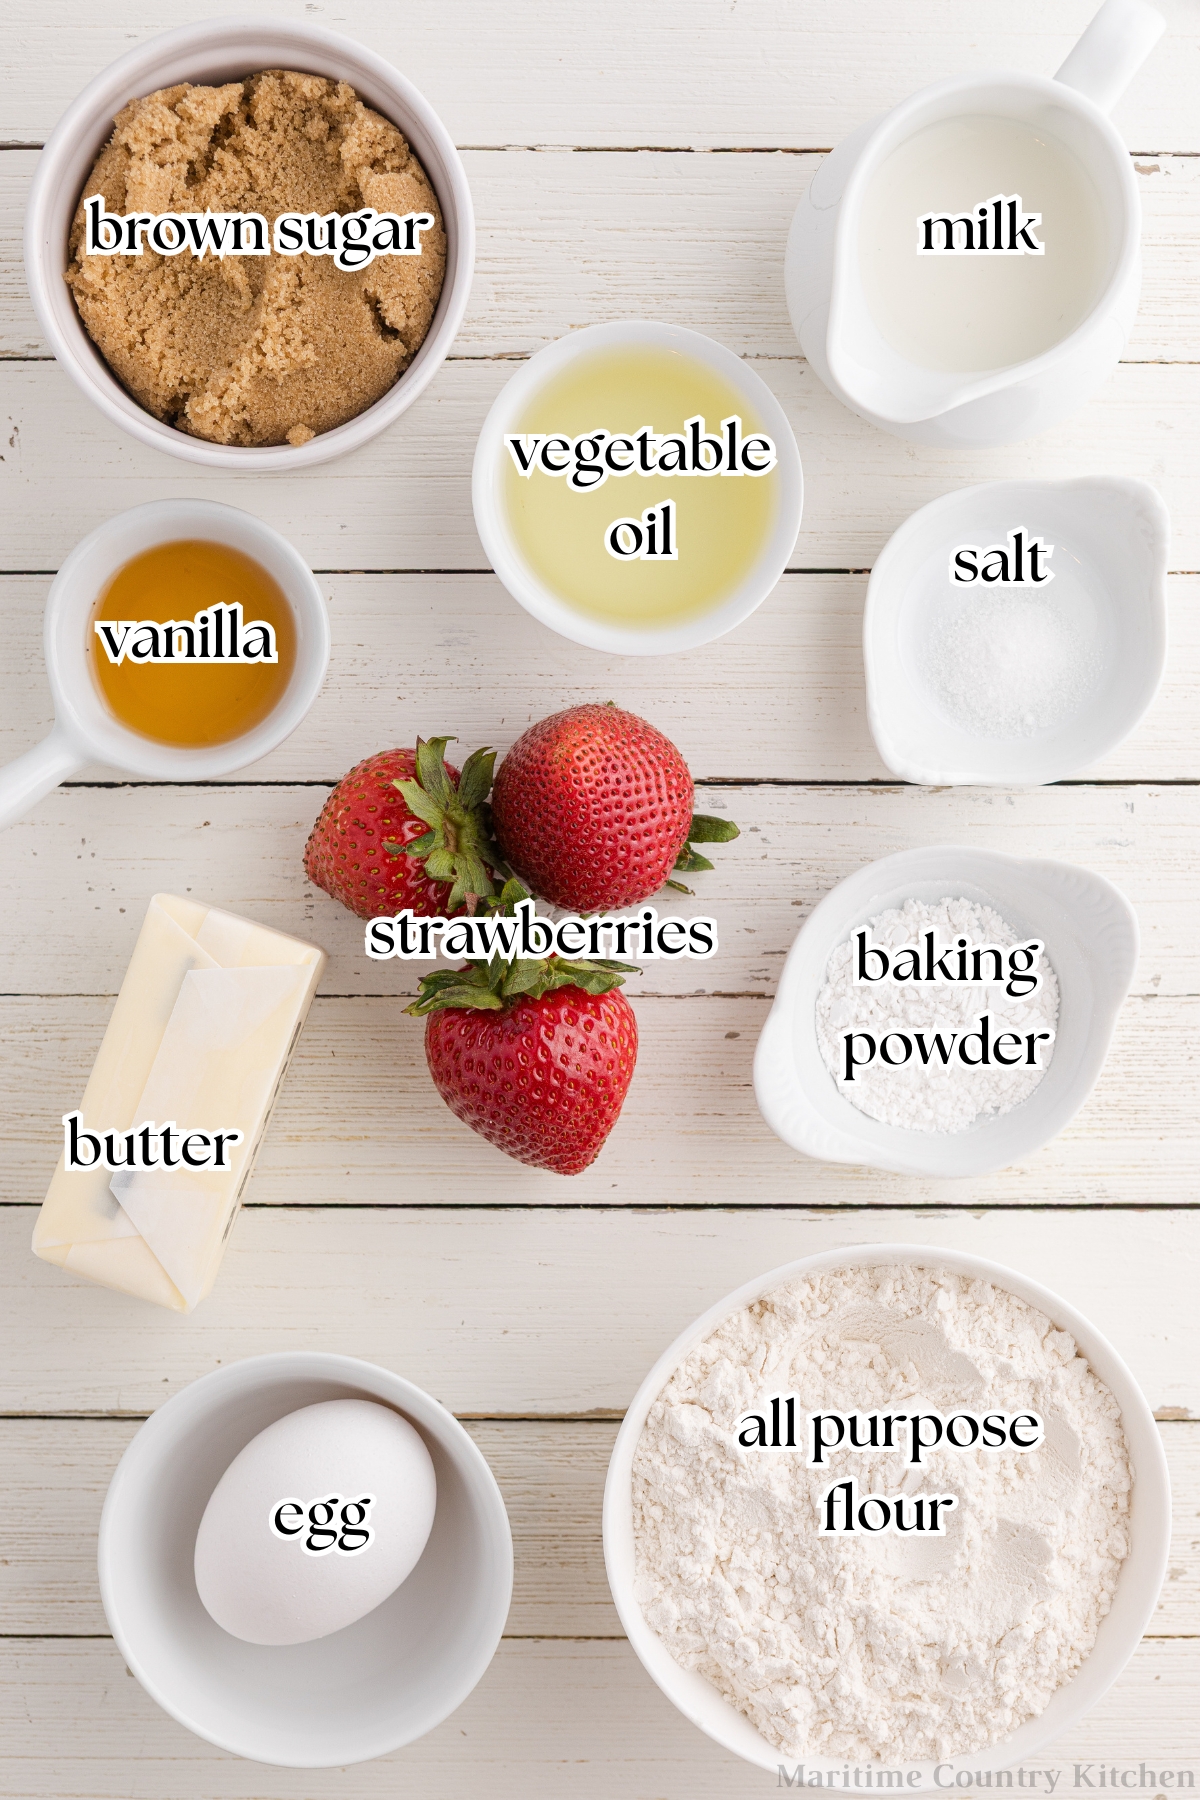
- Strawberries: Fresh is best, and in-season reigns supreme, but even frozen strawberries can be used as long as they are thawed first.
- Brown sugar: This creates a deep-flavored sweetness and helps to create a caramelized topping and moist cake layer. We love it!
- Butter: We recommend salted butter for this recipe, but if you prefer using unsalted butter, you can add a few pinches to the brown sugar topping and an extra few pinches to the dry ingredient mixture.
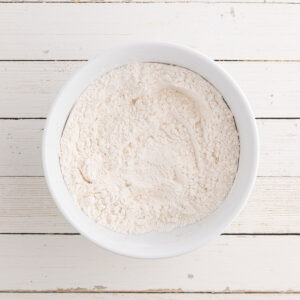
- For the homemade cake layer: flour, oil, more brown sugar, egg, milk, vanilla extract, baking powder, and salt.
For serving:
- Vanilla ice cream (strawberry cake a la mode, anyone?)
- Whipped cream
- And/or extra fresh strawberries for garnish
How to Make Upside Down Strawberry Cake
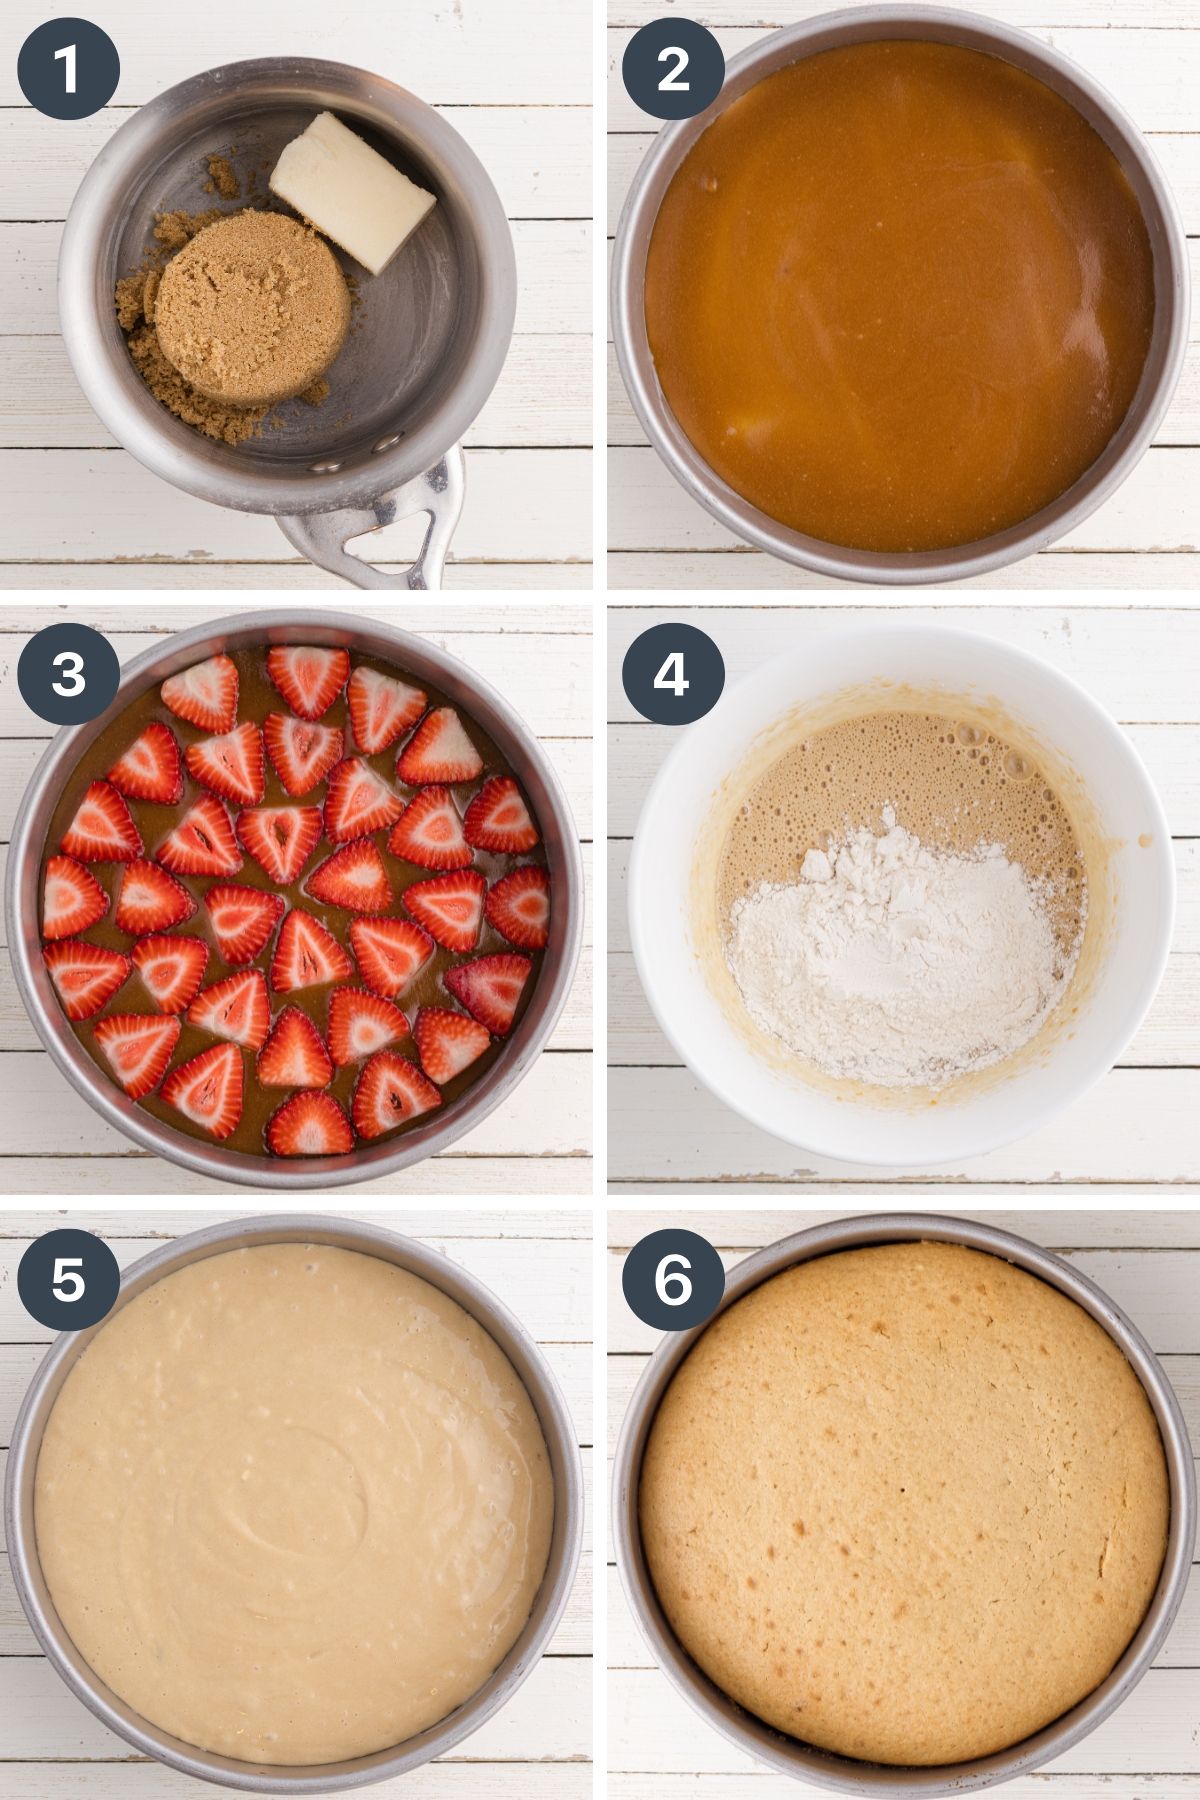
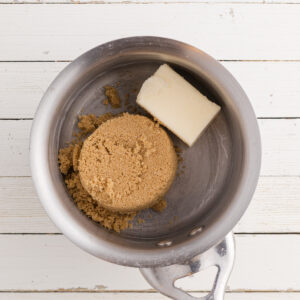
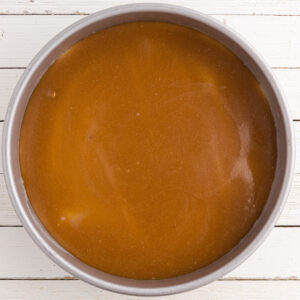
- Prepare the brown sugar topping. Add ⅓ cup of salted butter and ⅔ cup of brown sugar to a small saucepan. Melt the butter and brown sugar together over medium heat, then continue to cook until the mixture is smooth and bubbly (about 2-3 minutes).
- The brown sugar layer. Grease a 9" cake pan and line the bottom with a circle of parchment paper cut to size. Pour the brown sugar and butter mixture into the bottom of the pan, and smooth it into an even layer.
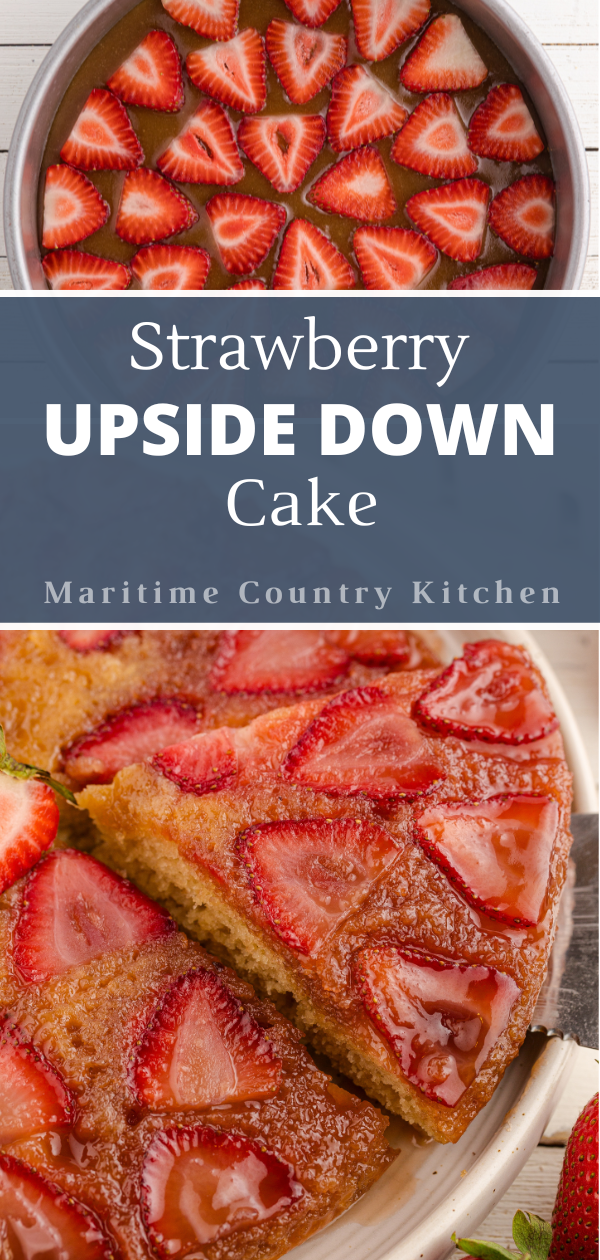
- The strawberry layer. Arrange the sliced strawberries over the brown sugar mixture, pressing them into the sugar and butter mixture gently so that they stay in place.
- The cake layer. Meanwhile, prepare the cake batter by whisking together the dry ingredients in one bowl, the wet ingredients in another, then combining the two in 2-3 additions, alternating with milk.
- Pour the cake batter on top of the strawberry layer, spreading it out so that all the strawberries are covered by an equal amount.
- Bake and cool. Bake in a 350ºF (180ºC) oven for 30-35 minutes, or until a toothpick comes out clean when inserted into the center. Allow the cake to cool in the pan for 10-15 minutes, then carefully invert it onto a serving platter or plate before serving.
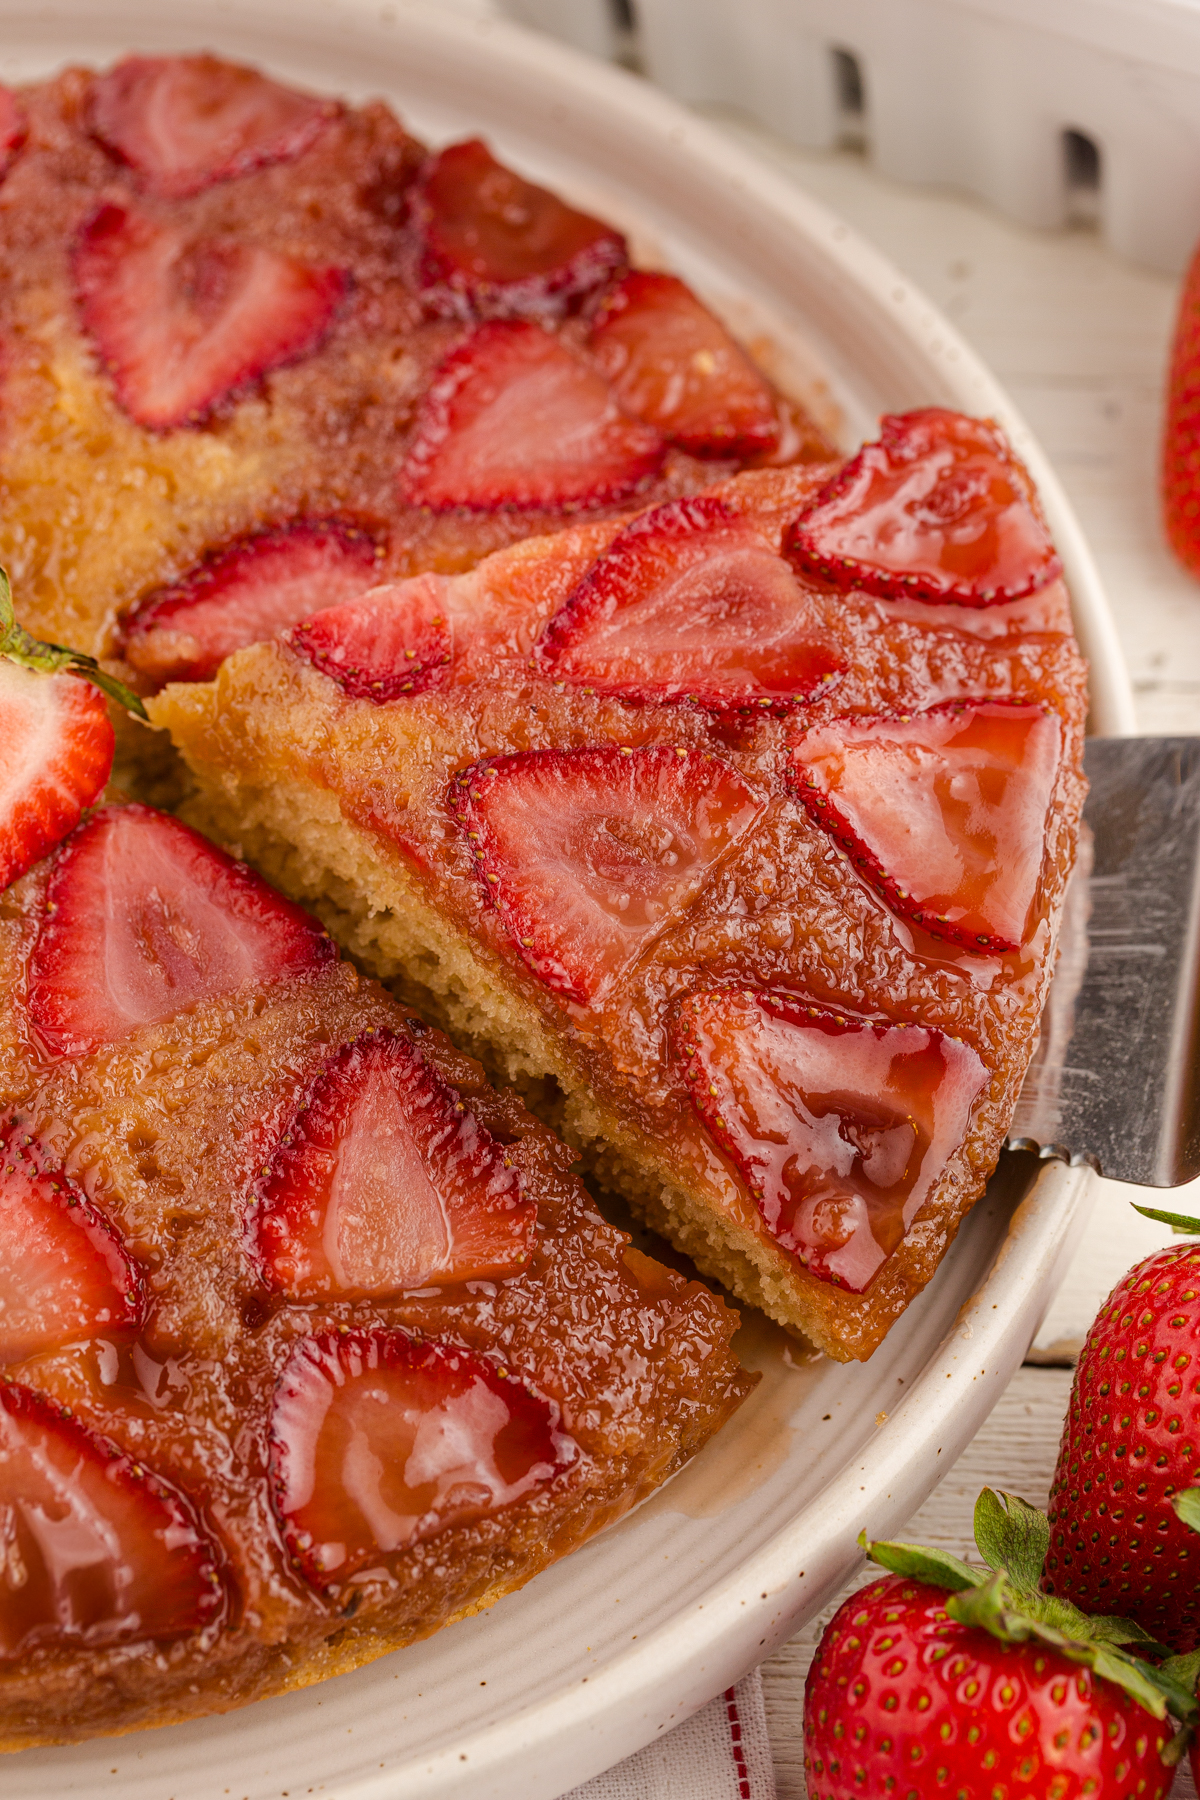
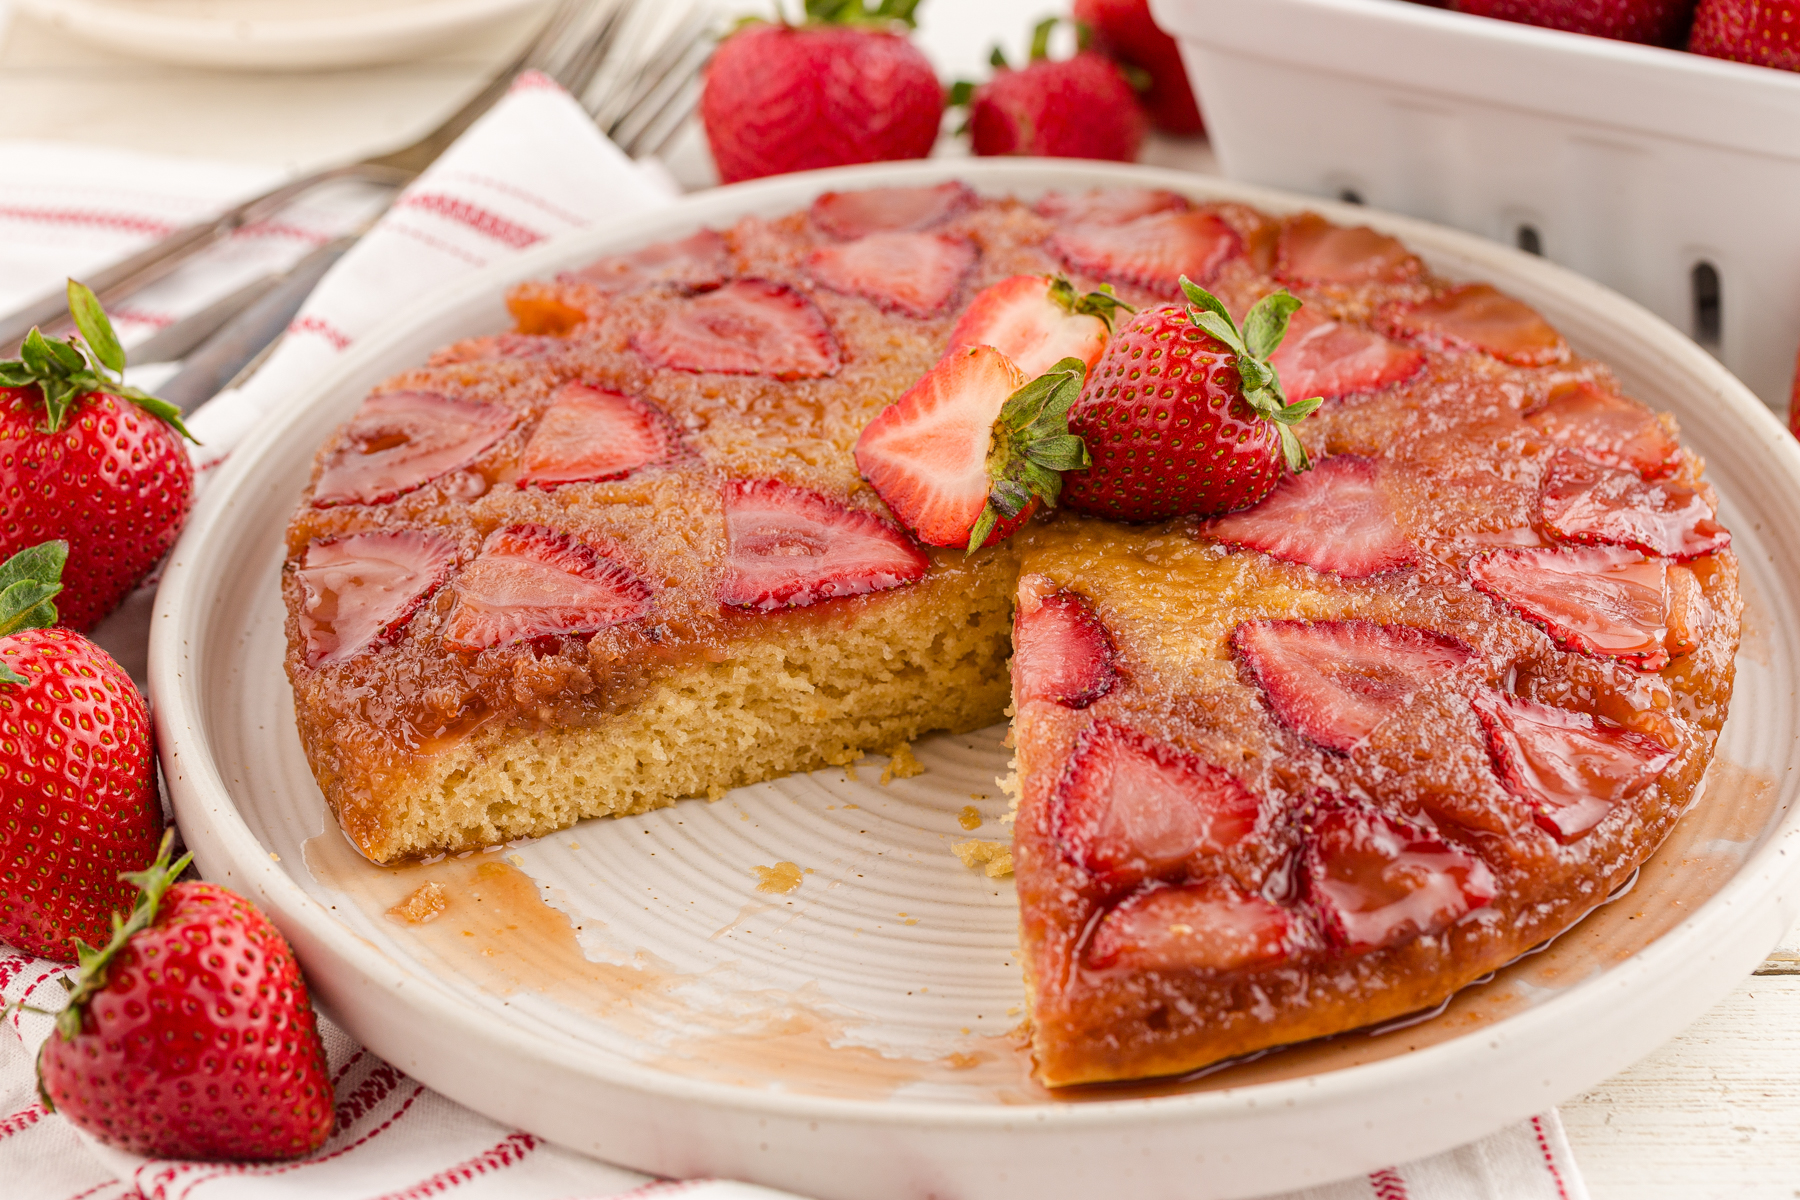
Serving and Slicing
Allow the cake to cool at room temperature before slicing…but it's okay if you need to eat it warm, I get it! Just keep in mind that the strawberries may slip around a bit if sliced too early.
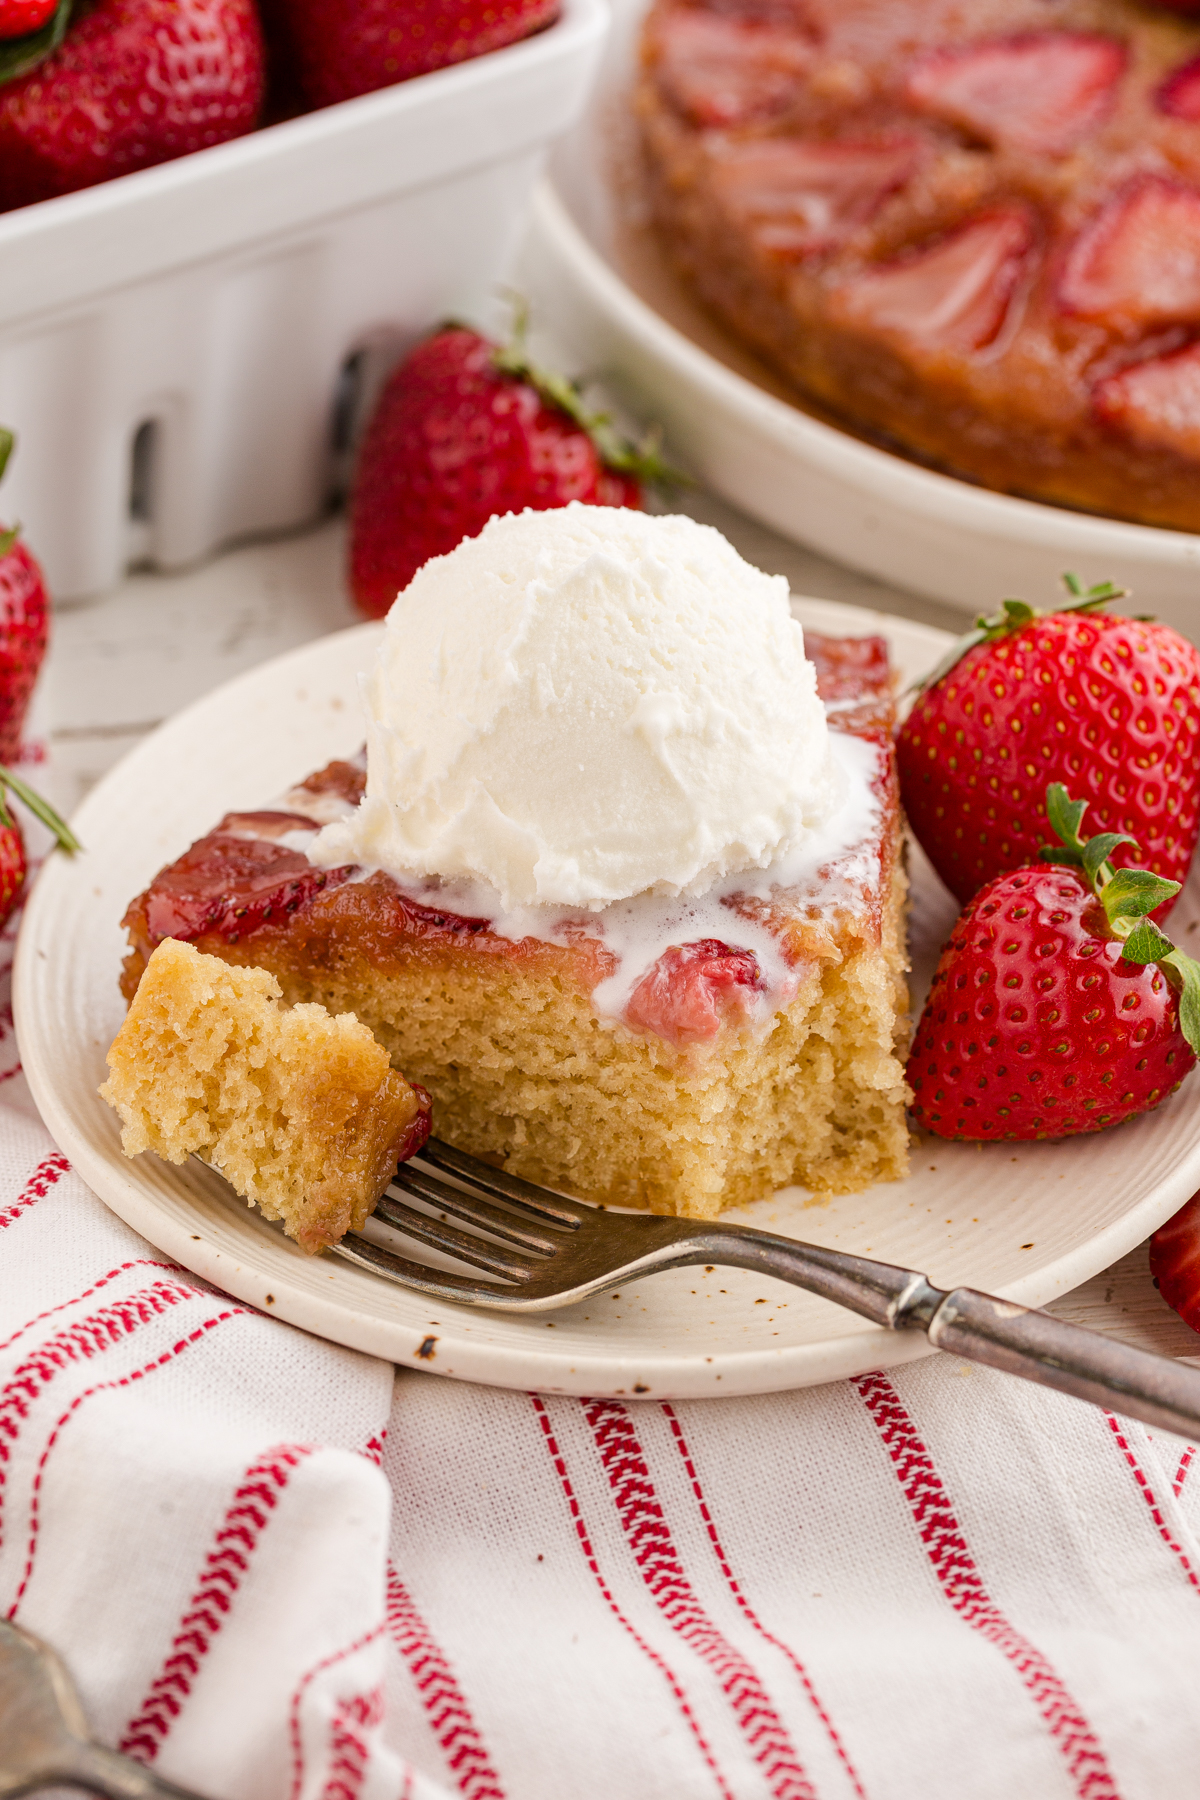
Once sliced, serve it with a delightful scoop of vanilla ice cream, whipped cream, or whatever you like to serve with upside-down cakes of every persuasion.
Storing Leftover Upside Down Cake
After the cake is cooled, you can wrap it tightly and store it in the refrigerator for up to 4 days.
Don't store this one at room temperature – the moisture from the strawberries makes it prone to spoilage unless stored properly (in the fridge).
Can I use Frozen Strawberries?
While I would prefer that you use fresh strawberries, frozen can be used in a pinch. Just be sure to thaw them first, and drain off any liquid (you can use the liquid to make strawberry rhubarb compote). I also recommend patting them dry with some paper towels to help absorb any remaining moisture.
Note that the color will bleed into the cake a bit more than fresh, but if you don't mind a pink cake (heck, I don't!), then you're in the clear.


If you loved this strawberry upside-down cake recipe, let me know by leaving a 5-star review in the recipe card, OR tag me on Instagram @maritimecountrykitchen!

Strawberry Upside Down Cake
Ingredients
Strawberry topping:
- ⅓ cup salted butter (about 5 ½ tablespoons)
- ⅔ cup brown sugar lightly packed
- 3 cups sliced strawberries (or chopped)
Cake layer:
- ¾ cup brown sugar lightly packed
- ¼ cup vegetable oil
- 1 large egg room temperature
- 1 ¼ cups all-purpose flour spooned and leveled (160 grams)
- ½ cup milk room temperature
- 1 teaspoon vanilla extract
- 1 ¼ teaspoons baking powder
- ¼ teaspoon salt
Instructions
- Preheat the oven to 350ºF (180ºC), and lightly grease or line a 9-inch round cake pan with parchment paper and set aside.
- In a small saucepan, melt the butter over medium heat. Stir in the brown sugar and cook until the mixture is smooth and bubbling, about 2 to 3 minutes.
- Pour the mixture into the prepared cake pan and gently spread it until it covers the bottom.
- Arrange the sliced or chopped strawberries over the brown sugar mixture in an even layer, gently pressing them in so they adhere slightly to the topping.

- In a medium bowl, whisk together the flour, baking powder, and salt, and set aside.
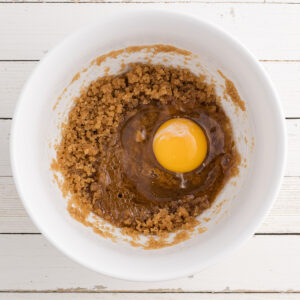
- In a large bowl, beat or whisk together the brown sugar and vegetable oil until smooth.
- Add the egg and vanilla extract and beat until well combined and slightly lighter in color, about 1-2 minutes.
- Stir in the flour mixture in three parts, alternating with the milk. Begin and end with the flour, stirring just until combined after each addition. Do not overmix.
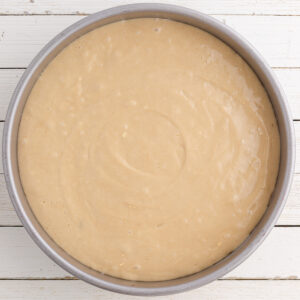
- Gently spoon the batter over the strawberries, spreading it evenly to the edges of the pan.
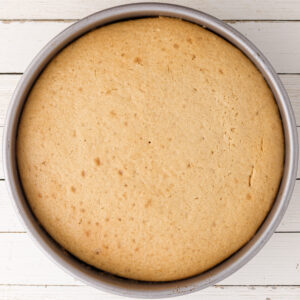
- Bake for 30 to 35 minutes or until the top is golden and a toothpick inserted in the center comes out clean.
- Allow the cake to cool in the pan for 10-15 minutes, then run a knife around the edges and invert carefully onto a serving plate. Make sure to invert the pan while the cake is still warm, otherwise the brown sugar may stick to the pan.

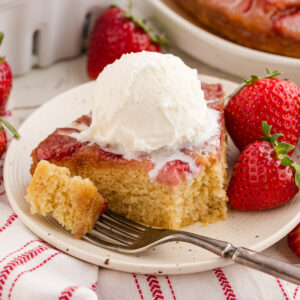
- Slice and serve warm (or cooled) with a generous scoop of vanilla ice cream or a generous dollop of whipped cream.
Notes
Nutrition
Please note that some of my blog posts here at Maritime Country Kitchen may contain affiliate links. If you purchase through these links, I will get a small commission at no additional cost to you.


Dorothy Bigelow
Surprisingly easy to make, and the perfect balance of sweetness and fruity flavor. So delicious and perfect for Spring!